Designer Mode
Design Mode allows users to build apps easily using drag-and-drop components to create forms and workflows. Users can customize components, rearrange them, and adjust their properties to match their design requirements.
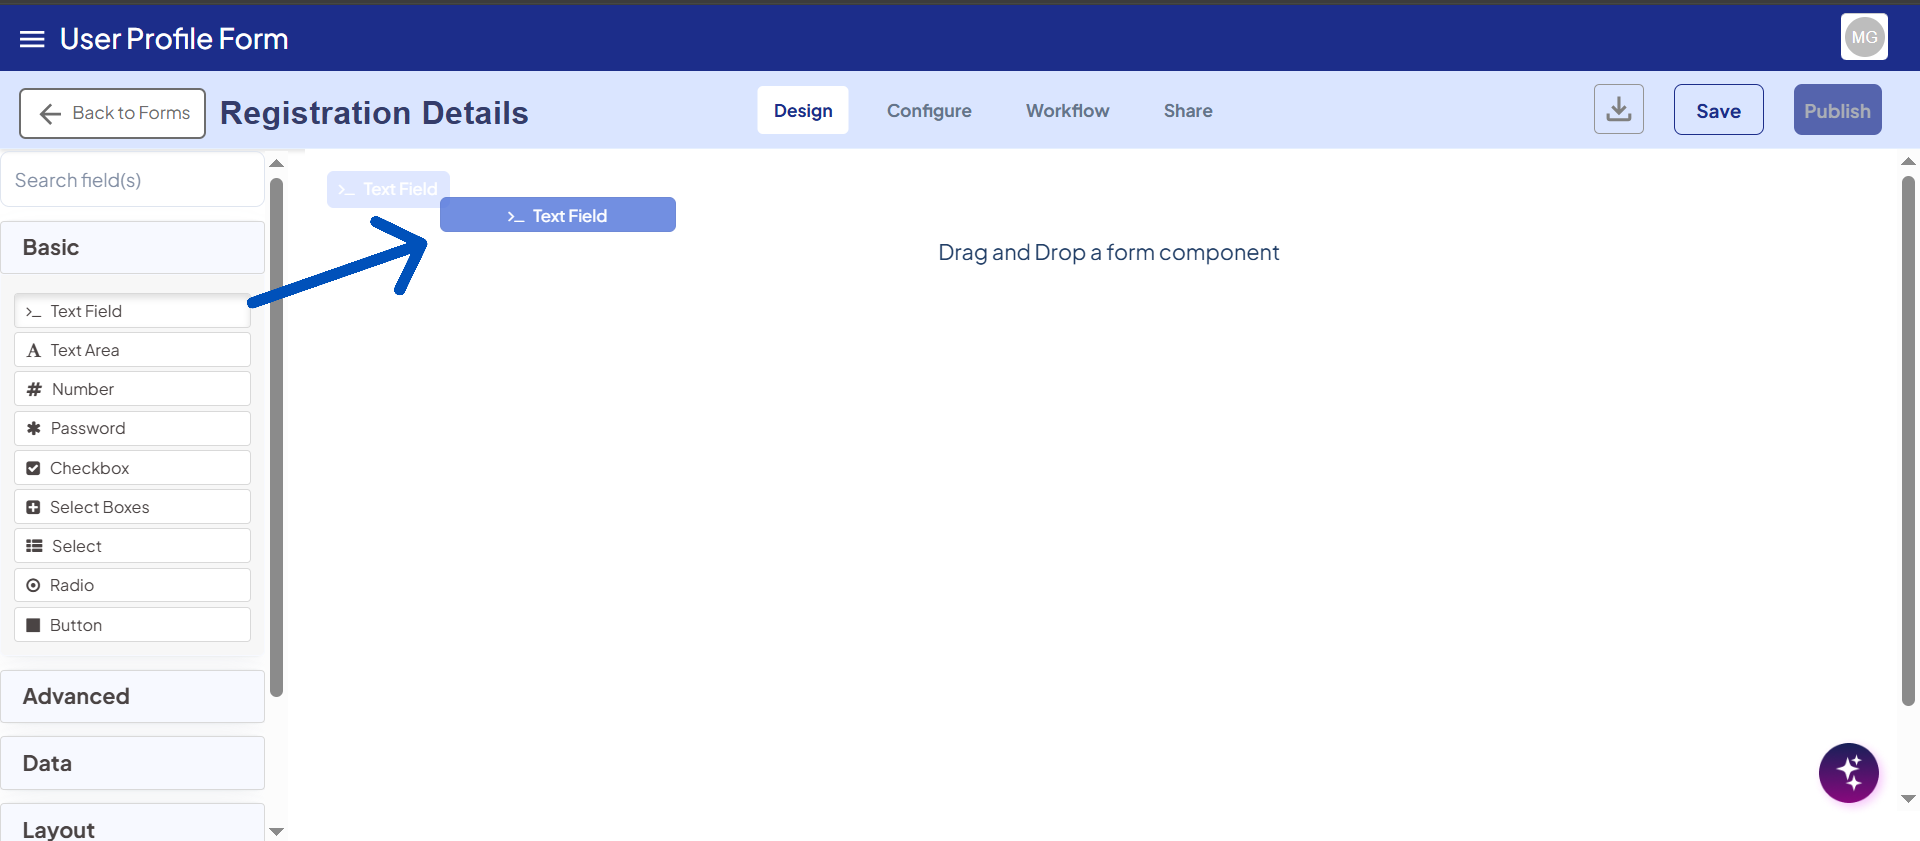
It also supports features such as uploading PDFs and designing PDFs by adding PDF components, applying validation rules, and defining custom statuses, all of which will be reflected in User Mode to make the app more interactive.
Additionally, in Designer Mode, options like Workspace Settings, Sign-In Experience, and Create Project will be enabled, providing full control over the app-building environment.
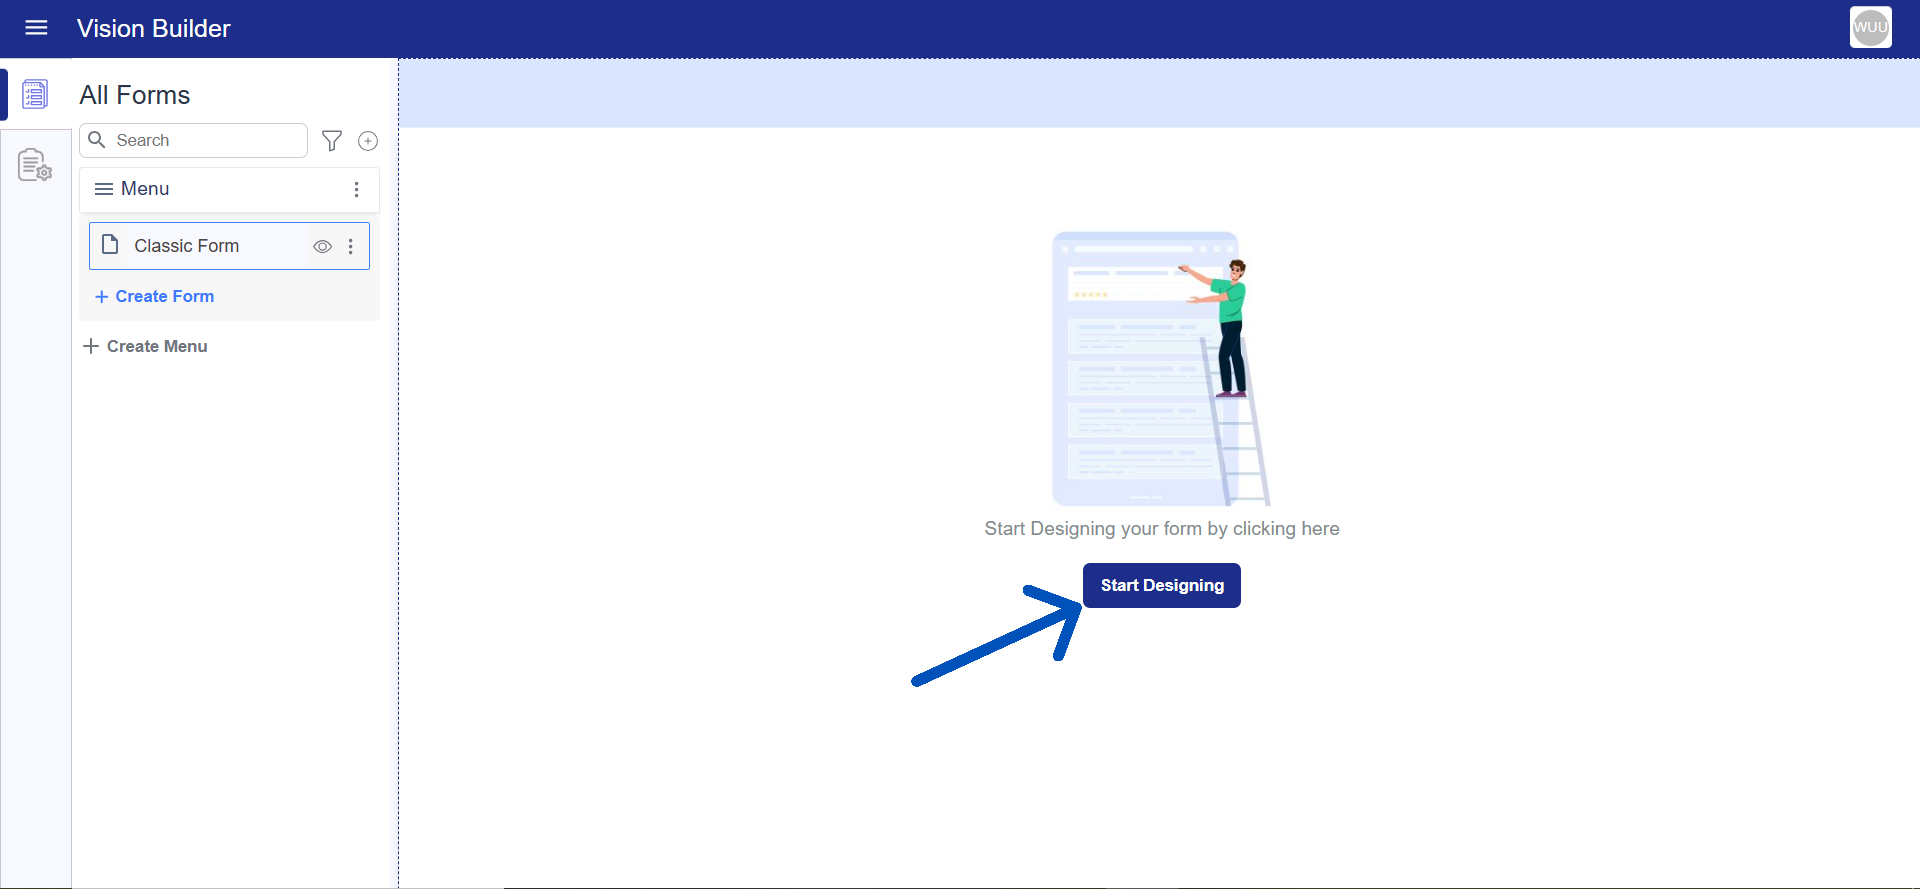
If your form is newly created, click on Start Designing to begin designing the form.
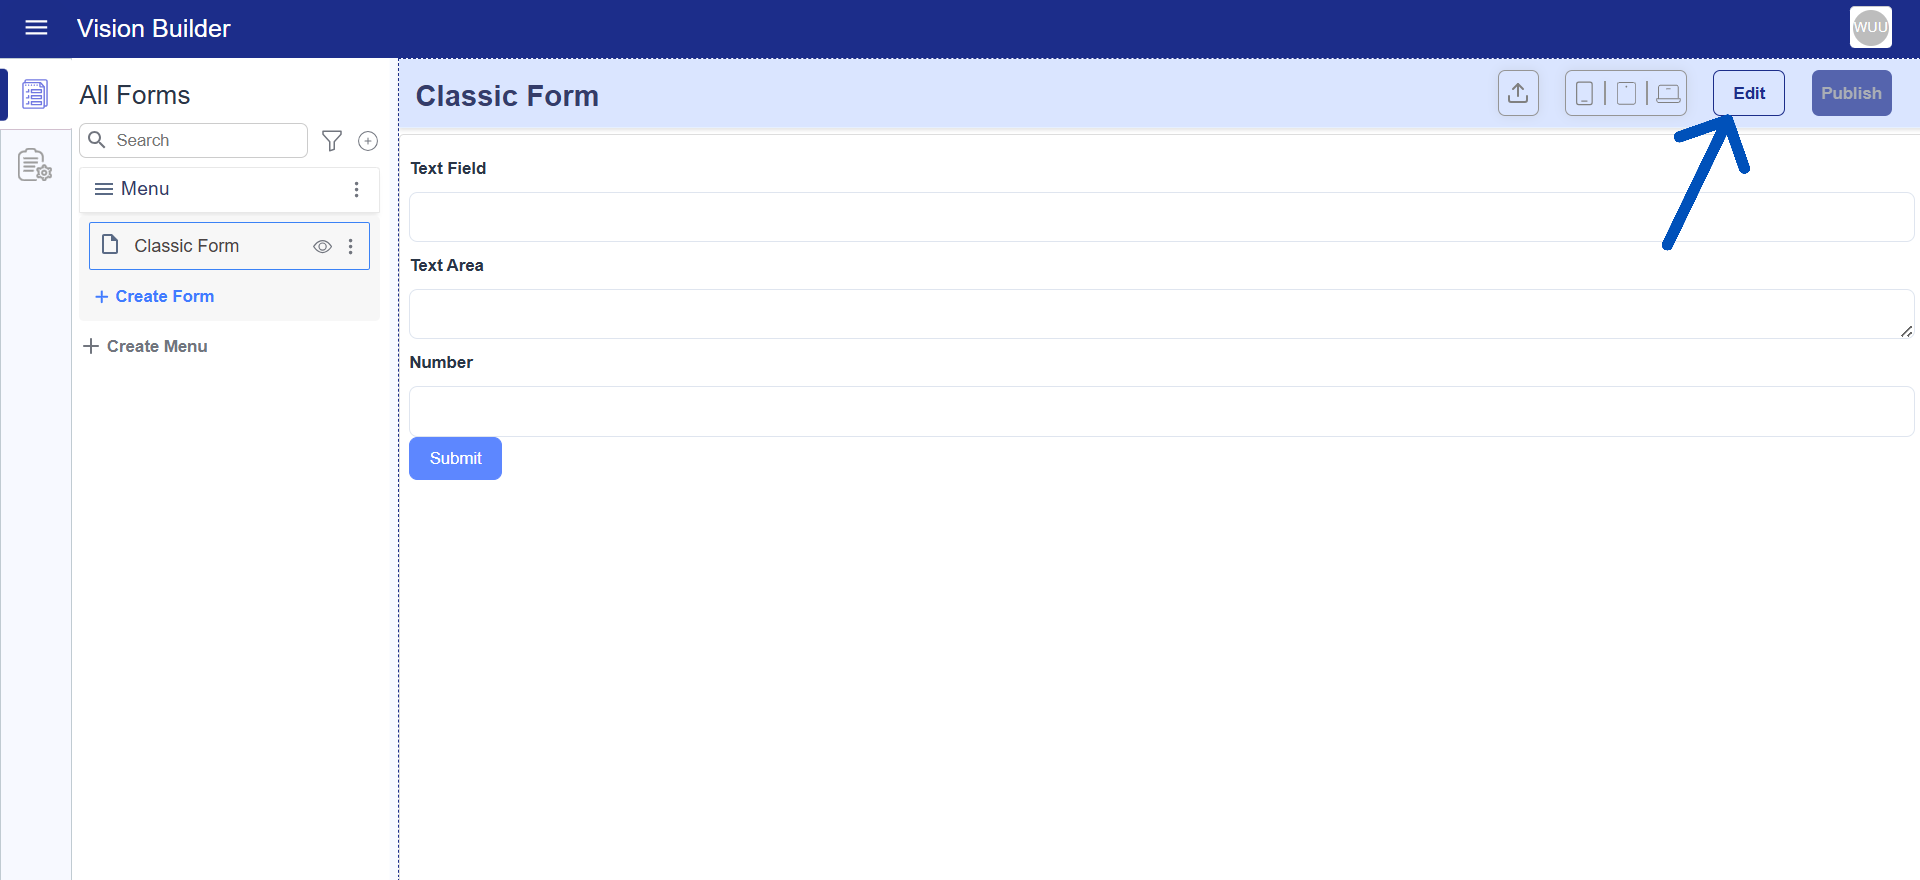
If your form is already designed then click on Edit to customize it
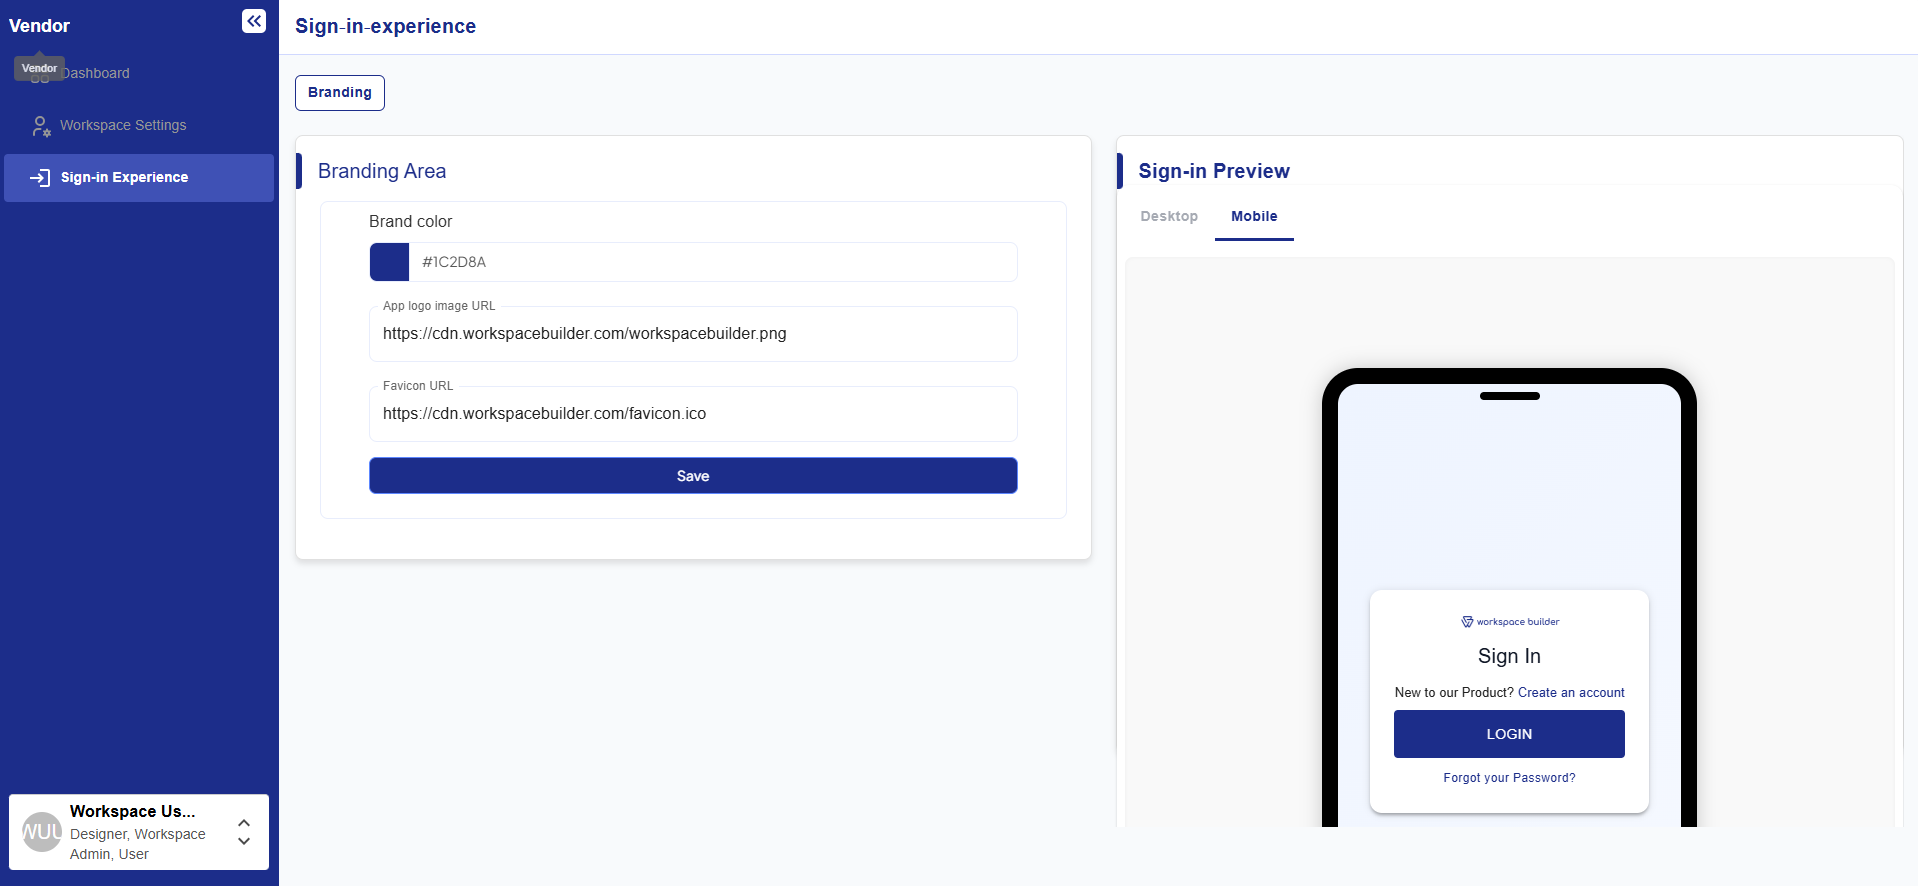
Sign-in Experience
In the Sign-in Experience section, you can customize the brand color,app logo, and favicon URL. These customized changes will be reflected on the login page.
Before logging in, make sure to include your organization name in the URL. For example, if your organization name is Vendor and the main URL is designer.workspacebuilder.com, then after customizing the Sign-in Experience, you should log in using your organization-specific URL: vendor.designer.workspacebuilder.com
Only by accessing the platform through your organization-specific URL the customized login page appear correctly.
What You Can Do in Designer Mode
- Users can create multiple projects, and within each project, multiple menus can be added. Under each menu, different forms can be created.
- Helps create and customize projects, forms, and workflows.
- Allows adding and arranging components using drag-and-drop.
- Enables uploading PDFs and adding PDF components.
- Lets you set validation rules and conditional logic.
- Allows defining custom statuses that reflect in User Mode.
- Provides full control over the design and structure of the application.
- In Designer Mode, Workspace Settings, Sign-In Experience, and Create Project options will be enabled
Project-Specific Access
If an admin invites a user and assigns them the Designer or User role, the admin must also add the user to the specific project using project setting. Until the user is invited to that project, they will not be able to see or access it for designing.
Project-Specific Access Steps
- Go to the Dashboard and open the desired project.
- Navigate to the Project Settings.
- Click on the Invite button.
- An Invite User popup will appear.
- In the Email field, a list of available users will appear — select the user you want to invite.
- In the Select Role dropdown, choose the appropriate role.
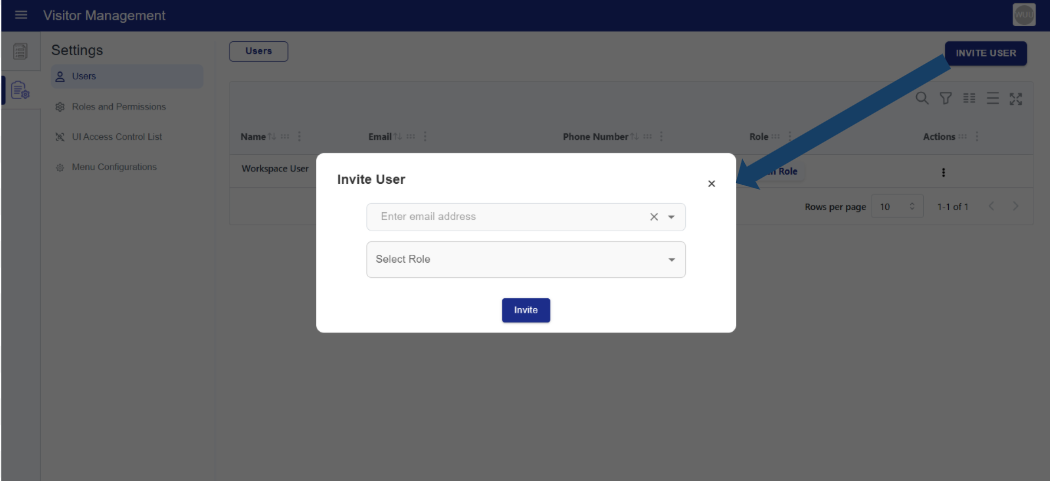
- Finally, click the Invite button.
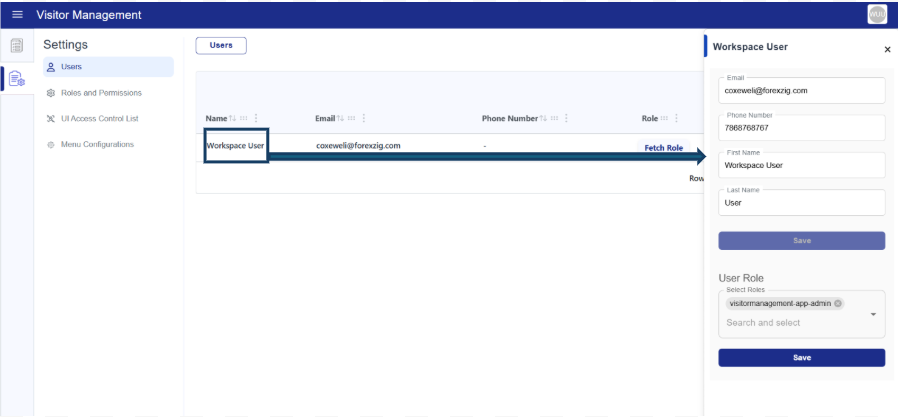
- After inviting, if you want to view the details of the invited user,
- Click on the Username in Project Settings to see their access information and role.